
TextureSwap Fakegear
This is a pretty basic tutorial involving bin editing.
1. Getting Your Static Materials Ready
You thought we were swapping textures? I wish it was that simple.
You need to copy the existing staticmaterial associated with the base texture for that mesh. For Yuumi's body, it's Orb_Cat_inst. You can find it by searching for the texture name in the skin bin.
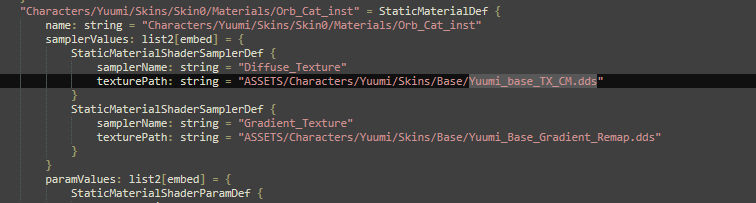
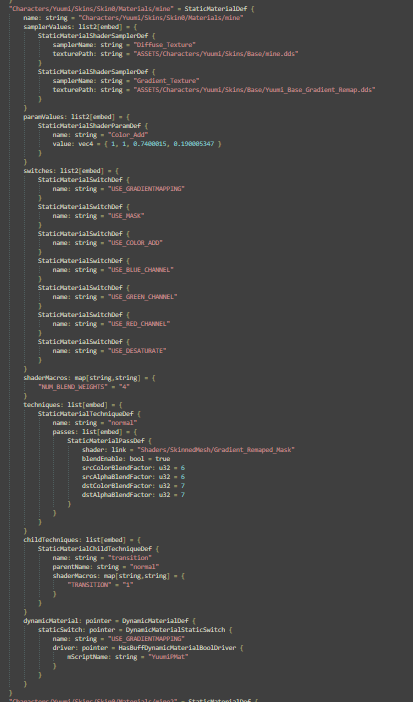
After that, you copy the entire thing, paste it somewhere, rename things, and add your texture file to it. In my case, the name is gonna be "mine", as well as the texture file.
2. VFX
You will need this code snippet. I recommend pasting it close to your staticmaterial so you have everything in one place.
"Hide" = VfxSystemDefinitionData {
    timeBeforeFirstEmission: f32 = 1
    complexEmitterDefinitionData: list[pointer] = {
        VfxEmitterDefinitionData {
            rate: embed = ValueFloat {
                constantValue: f32 = 1
            }
            particleLifetime: embed = ValueFloat {
                constantValue: f32 = 1e+14
            }
            isSingleParticle: flag = true
            emitterName: string = "Override"
            meshRenderFlags: u8 = 0
            materialOverrideDefinitions: list[embed] = {
                VfxMaterialOverrideDefinitionData {
                    priority: i32 = 1
                    subMeshName: option[string] = {
                        "Yourmaterialnamefrommaya"
                    }
                    material: link = "Characters/urchamp/Skins/urskin/Materials/urstaticmaterial"
                    transitionSample: f32 = 1
                }
            }
        }
    }
    particleName: string = "Hide"
    particlePath: string = "Hide"
}
"Show" = VfxSystemDefinitionData {
timeBeforeFirstEmission: f32 = 1
complexEmitterDefinitionData: list[pointer] = {
VfxEmitterDefinitionData {
rate: embed = ValueFloat {
constantValue: f32 = 1
}
particleLifetime: embed = ValueFloat {
constantValue: f32 = 1e+14
}
isSingleParticle: flag = true
emitterName: string = "Override"
meshRenderFlags: u8 = 0
materialOverrideDefinitions: list[embed] = {
VfxMaterialOverrideDefinitionData {
priority: i32 = 1
subMeshName: option[string] = {
"Yourmaterialnamefrommaya"
}
material: link = "Characters/urchamp/Skins/urskin/Materials/defaultstaticmaterial"
transitionSample: f32 = 1
}
}
}
}
particleName: string = "Show"
particlePath: string = "Show"
}3. Resource Resolver
You will also need this in ResourceResolver:
"Hide" = "Hide"
"Show" = "Show"
4. Animation Bin
After this, you need the animation bin. Find the animation you want to use as a toggle and paste these code snippets like this:
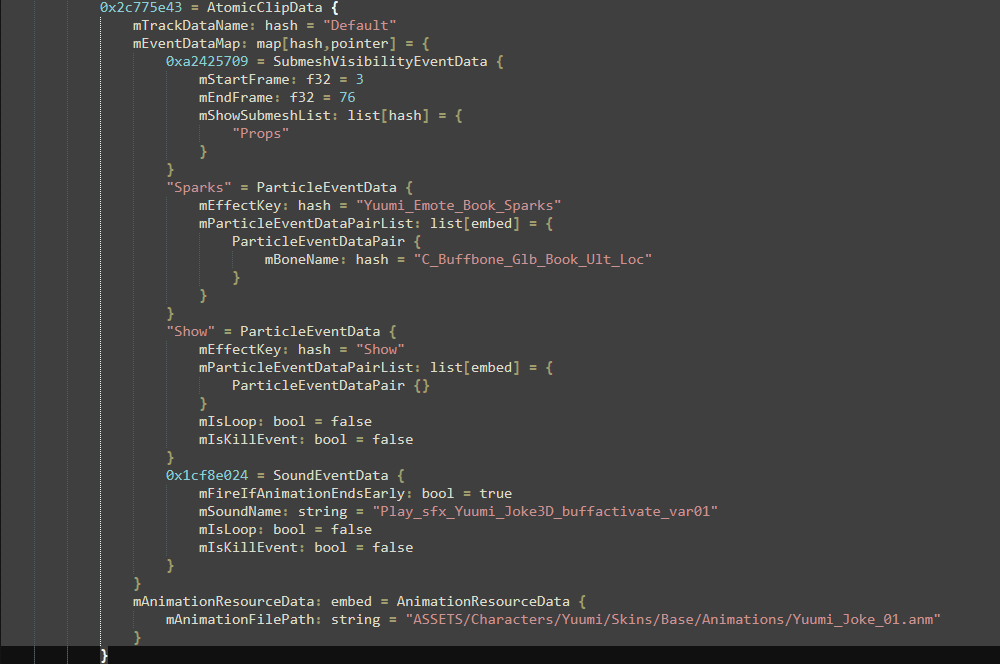
"Hide" = ParticleEventData {
    mEffectKey: hash = "Hide"
    mParticleEventDataPairList: list[embed] = {
        ParticleEventDataPair {}
    }
    mIsLoop: bool = false
    mIsKillEvent: bool = false
}
"Show" = ParticleEventData {
mEffectKey: hash = "Show"
mParticleEventDataPairList: list[embed] = {
ParticleEventDataPair {}
}
mIsLoop: bool = false
mIsKillEvent: bool = false
}✅ After this, you should be good to go if you did everything right and replaced everything correctly!