
3D Model Swap
You will need the Aventurine Blender skn/skl importer for this.
Blender Version: 4.5.1
If you are using a newer version, some steps may look slightly different.
This guide walks you through preparing a custom 3D model in Blender and replacing a League of Legends character model while keeping the original rig and animations.
If you have any questions or feedback, Discord: @hatstore Read the FAQ and the rest of the guide below before you DM.
You can also support me on Ko-fi.
Big thanks to @Frog for making this guide actually readable
Requirements
| Tool | Purpose |
|---|---|
| Lol Aventurine Plugin | Required to import/export .skn and .skl files in Blender |
| Blender | Main 3D software for editing the champion model |
| CATS Blender plugin | Not required, but useful for transferring weights between bones and other things |
| Paint.net / Photoshop | Edit and export textures (.dds) |
Paint.net .tex plugin | Needed to open and edit .tex files |
| LtMAO | Convert League .tex files to .dds and back, alternative to the plugin above |
| Flint | Extract original League champion files (.wad.client) |
| Jade | Edit .bin files if skin adjustments are needed |
| Celestial | Load and test the custom skin in-game |
FAQ:
I'm trying to do X why it not working please help?
- The answer for why is already in the guide 90% of the time. Re-read carefully and if its still unclear DM and ask.
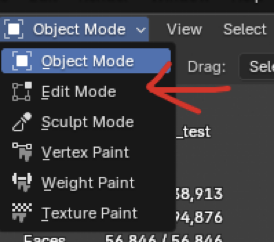
Why can't I do X in edit mode?
- You had likely selected the wrong object. If you are editing the mesh make sure you select the mesh and not, for example, the armature before going into edit mode.
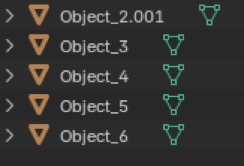
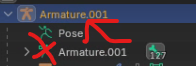
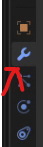
Do I select the green armature icon or the orange one in the objects list top right?
- Orange; The green icon can be ignored.
0. Prepare Your Model
Combine Meshes
First import the model you want to swap to. If your model consists of multiple objects:
- Select all objects:
- Press Ctrl + J to combine them into a single mesh
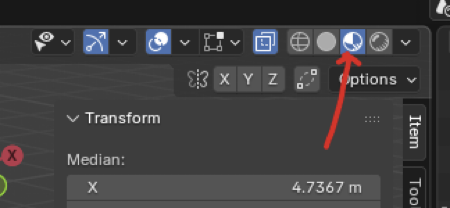
Texture Display & Materials
- Enable material preview (viewport shading)
- Select the model and open the Materials tab:

- For models with multiple materials (if the materials do not have the textures assigned already, so like if the model is say just solid color):
- Assign the correct texture to each material slot:
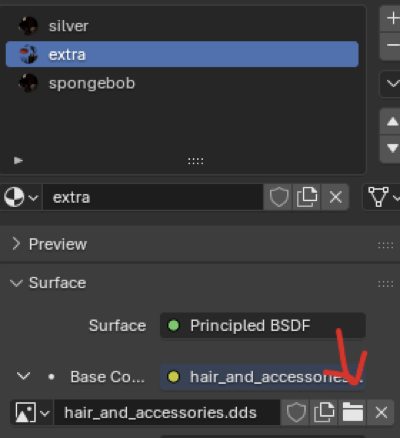
- Assign the correct texture to each material slot:
- If you plan to bake lighting or shadows into the texture, do it at this stage; I really recommend it if you are going for a "realistic" look. (No Divine guide for it yet, but tutorials are out there)
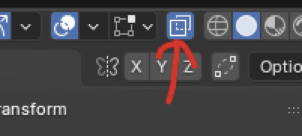
Face Orientation
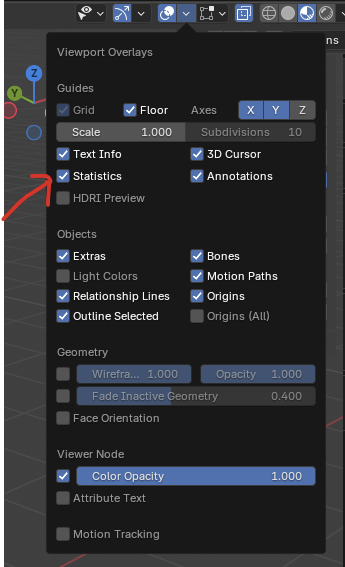
- Enable Face Orientation in the viewport overlays:
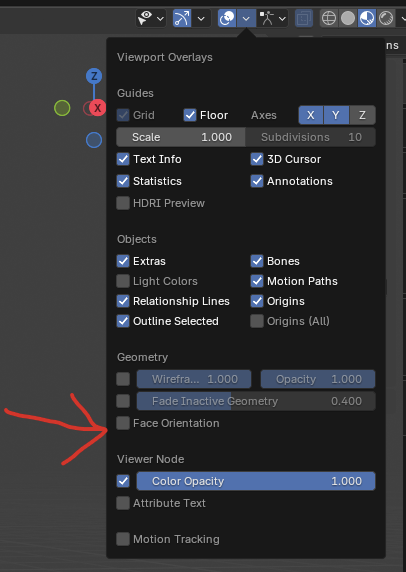 If the whole model turns red = correct normals orientation, you can skip this
step.
If the whole model turns red = correct normals orientation, you can skip this
step.
If parts don't change color:
- Go to edit mode
- Enable X-Ray
- Select the full mesh (drag select)
- Press Alt + N → Flip
If only some areas are not red, select those faces individually and flip them.
Disable Face Orientation once done.
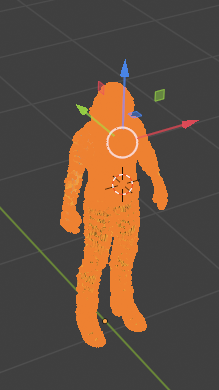
Merge Vertices (IMPORTANT)
- Enter Edit Mode
- Select the full mesh
- Press M → By Distance
- In the window that pops up bottom left, set the distance to 0.001 – 0.005
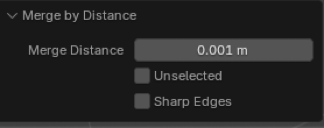
This step removes duplicate vertices and prevents major issues later.
Decimate (Vertex Limit)
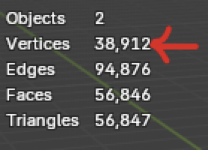
League models must be under ~65,000 vertices to be imported.
- Enable Statistics in the viewport
- Hide any non-custom meshes (
H) - Check vertex count (aim for <60k)
If too high:
- Go to the modifiers tab:
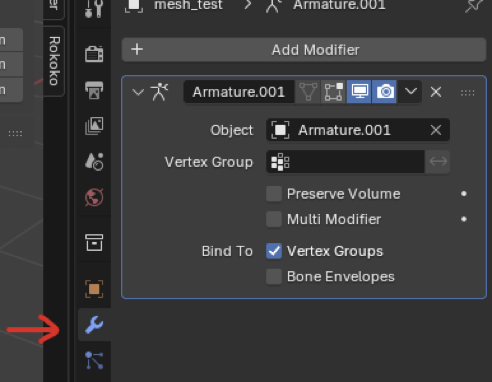
- Add a "Decimate" Modifier
- Use Collapse Mode
- Enable Triangulate
- Lower the ratio until vertex count is acceptable
If quality degrades too much:
- Try Planar Mode with UV Delimiting enabled
- You can even stack both collapse and planar decimates if needed
1. Edit Your Model to Fit the League Rig
1. Import the League Model
Import the League champion model for reference
2. If the Custom Model Has an Armature
-
Select the armature (orange icon not the green)
-
-
Enter Pose Mode
-
Move/Rotate bones to match League proportions
-
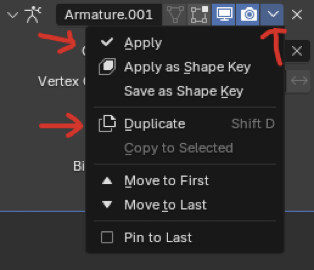
Once you're done, duplicate the Armature Modifier, apply the top one
- In Pose Mode, press Ctrl + A → Apply Pose as Rest Pose
- Continue editing
3. Edit Without Using an Armature
- Select the model
- Enter Edit Mode
- Press O to enable Proportional Editing
- Move vertices to reshape the mesh
- Use the mouse wheel to adjust influence
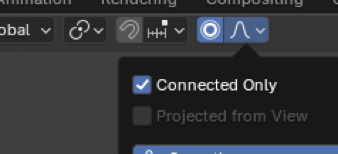
If unwanted areas move:
- Enable Connected Only in proportional editing:
2. Combine UVs & Textures
(This part can be annoying, if there are too many materials and you have installed the CATS plugin go to the Material Atlas guide page and follow that.)
If the model uses multiple textures:
- Combine them into a single texture kinda like this:

UV Editing
- Go to the UV Editing tab:

- Enter Edit Mode with the just mesh selected
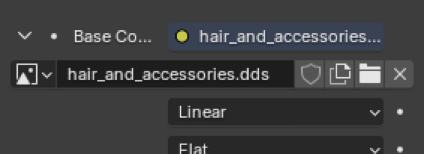
- Select a material in the materials tab (make sure you have no other vertices selected before)
- Replace its image with the combined texture here:
- Click "Select":
- The vertices with that material will light up like this:
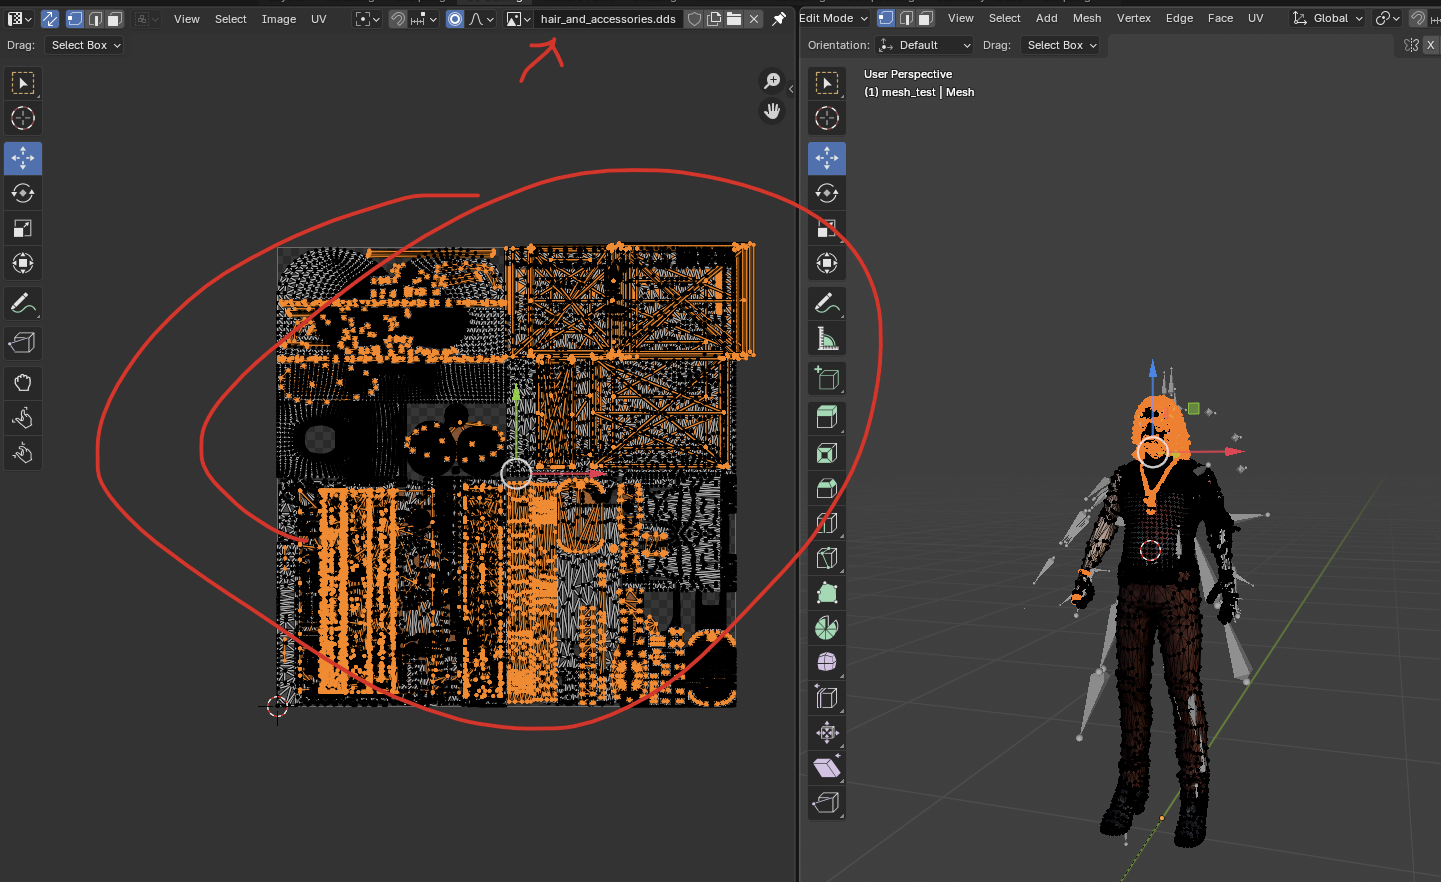
- Scale and move the selceted parts in the UV windom on the left to fit the new texture (change the background image to your new one in the box shown above to make that easier).
Repeat for all materials until all of them use the combined texture and the model looks correct in the viewport.
You can now delete all materials except one.
3. Weights & Rigging
1. Parenting
If the model already has an armature:
- Select the mesh
- Press Alt + P → Clear Parent (Keep Transformation)
Then:
- Select the mesh
- Shift-select the League armature
- Press Ctrl + P → Armature Deform
2. Transferring Weights
Follow this guide to transfer weights from the League model:
After transfer:
- Hide the League mesh
- Select the armature
- Enter Pose Mode
- Rotate bones to test if the weights transferend correctly. Pay extra attention to the fingers, and any detached parts.
My rule of thumb is you should be able to rotate a bone ~90° without the mesh starting to look weird. It will most likely be really off in some places. To fix it, exit pose mode and go to step 3:
3. Manual Weight Painting
- Select bones, then the mesh
- Enter Weight Paint Mode
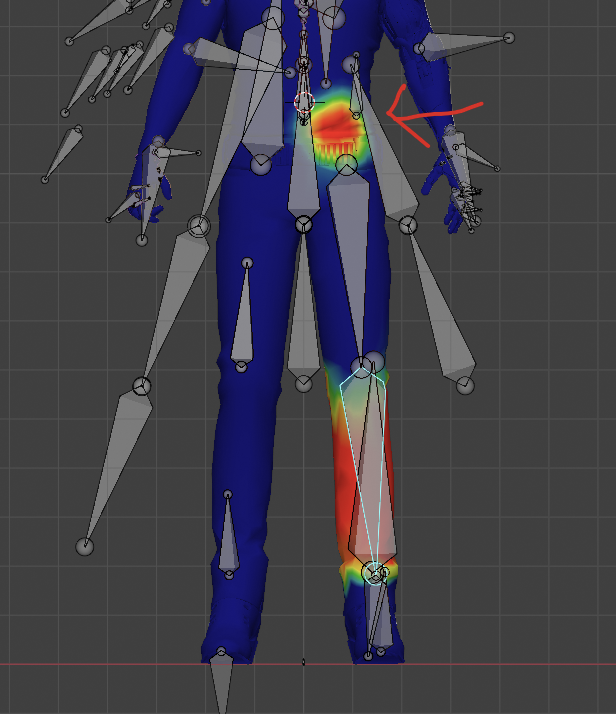
- Alt + Click a bone to view its influence
Color meanings:
- Red: full weight (the part will exactly follow the bone's movement)
- Yellow/Green: partial
- Blue: no weight (the part is not affected)
Controls:
- Left Click: add weight
- Shift + Left Click: smooth weight
- Ctrl + Left Click: remove weight
Look out for weights where there shouldn't be any. For example, if you see something like this:
4. Weight Editing via Edit Mode
To remove all weight from a part of the model:
- Select the mesh
- Enter Edit Mode
- Select vertices you don't want weights on
- Open Vertex Groups:
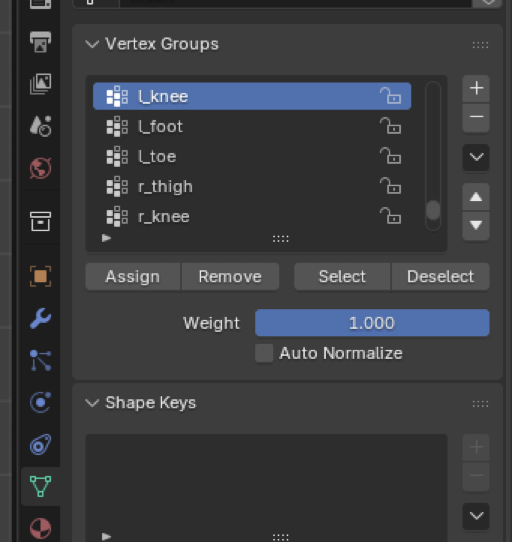
- Select the group that shares the name with the bone you don't want weights on
- Click Remove
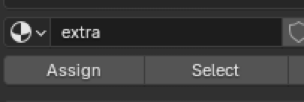
To assign full weight:
- Select vertices
- Choose vertex group
- Click Assign
(Useful for weapons)
5. Double Check Weights
- Enter Pose Mode
- Move the root bone
If parts stretch or stay behind like this:
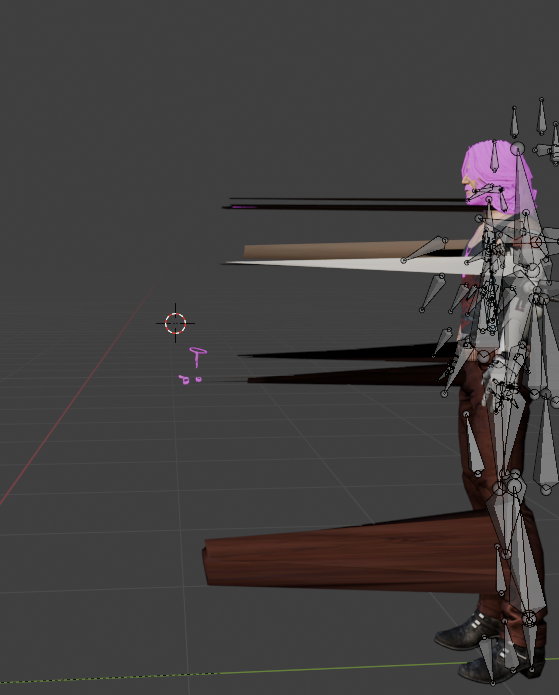
- They have no weights
- Return to Weight Paint Mode and fix
Final Steps
- Convert the combined texture to
.texusing Quartz or LtMAO - Replace the default champion texture
- Delete the default model in Blender
- Export skn/skl
- Replace the original files in the WAD folder
- Load the mod using your skin manager of choice
If something looks wrong in-game, carefully re-check each step above.