
Emitter Library
bindWeight controls how much the particle follows the movement of the bone it’s attached to.
Bind Weight
bindWeight controls how much the particle follows the movement of the bone it’s attached to.
1→ fully follows the bone0→ stays in place
bindWeight: embed = ValueFloat {
    constantValue: f32 = 1
}
Rate
rate controls how many particles are spawned per second by the emitter.
Example: 1 Particle
rate: embed = ValueFloat {
    constantValue: f32 = 1 // 1 particle in emitter
}
Example: 20 Particles
rate: embed = ValueFloat {
    constantValue: f32 = 20 // 20 particles spawning in 1 emitter
}
Particle Lifetime
particleLifetimedefines how long each particle lives after being emitted.lifetimedefines how long the emitter itself lasts before disappearing.
Finite Lifetime
particleLifetime: embed = ValueFloat {
    constantValue: f32 = 1
}
Infinite Lifetime
particleLifetime: embed = ValueFloat {
    constantValue: f32 = -1 // infinity
}
Emitter Lifetime
lifetime: option[f32] = {
    1
}
Particle Linger
particleLinger delays the disappearance of particles after the emitter finishes, allowing them to remain visible for a set duration (in seconds).

particleLinger: option[f32] = {1}Misc Render Flags
miscRenderFlags controls special rendering behaviors for the particle.
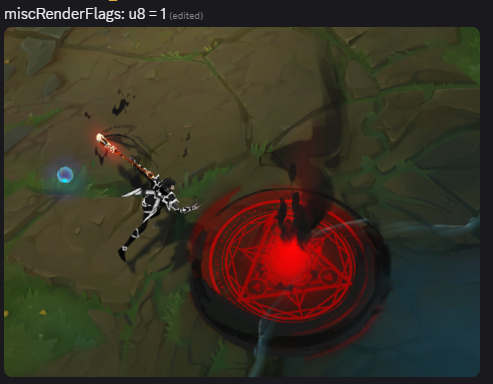
miscRenderFlags: u8 = 1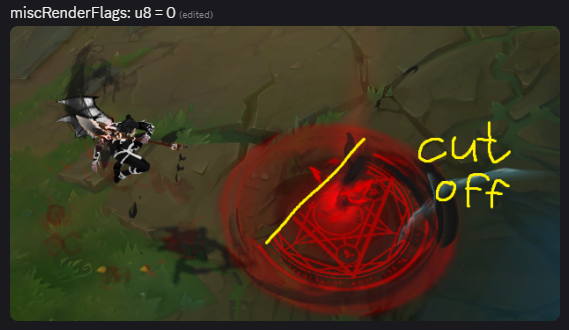
miscRenderFlags: u8 = 0Emitter Position
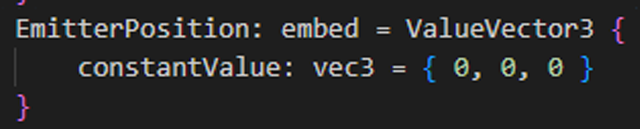
EmitterPosition sets where particles spawn relative to the emitter.
- Higher Y → moves up
- Lower Y → moves down
Position Examples
EmitterPosition: embed = ValueVector3 {
    constantValue: vec3 = { 0, 100, 0 } // higher
}EmitterPosition: embed = ValueVector3 {
constantValue: vec3 = { 0, -100, 0 } // lower
}EmitterPosition: embed = ValueVector3 {
constantValue: vec3 = { 100, 0, 0 } // right
}EmitterPosition: embed = ValueVector3 {
constantValue: vec3 = { -100, 0, 0 } // left
}EmitterPosition: embed = ValueVector3 {
constantValue: vec3 = { 0, 0, 100 } // forward
}EmitterPosition: embed = ValueVector3 {
constantValue: vec3 = { 0, 0, -100 } // backward
}Translation Override
translationOverride moves the particle system independently of emitter settings and offsets the entire system globally.

translationOverride: vec3 = { 0, 100, 0 } // higher
translationOverride: vec3 = { 0, -100, 0 } // lower
translationOverride: vec3 = { 100, 0, 0 } // right
translationOverride: vec3 = { -100, 0, 0 } // left
translationOverride: vec3 = { 0, 0, 100 } // forward
translationOverride: vec3 = { 0, 0, -100 } // backward
Time Before First Emission
timeBeforeFirstEmission defines how long the emitter waits before spawning particles.
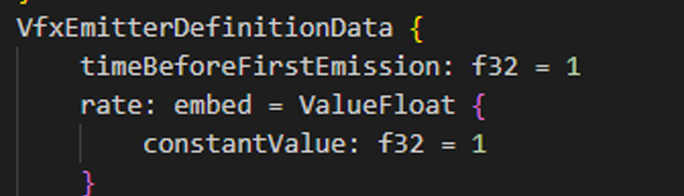
timeBeforeFirstEmission: f32 = 1Eye Candy
mEyeCandy enables or disables the Hide Eye Candy option in video settings.
Must be placed at the bottom of a particle system.

mEyeCandy: bool = true // or falsePass (Draw Order)
Pass controls draw order, similar to layers in Photoshop.
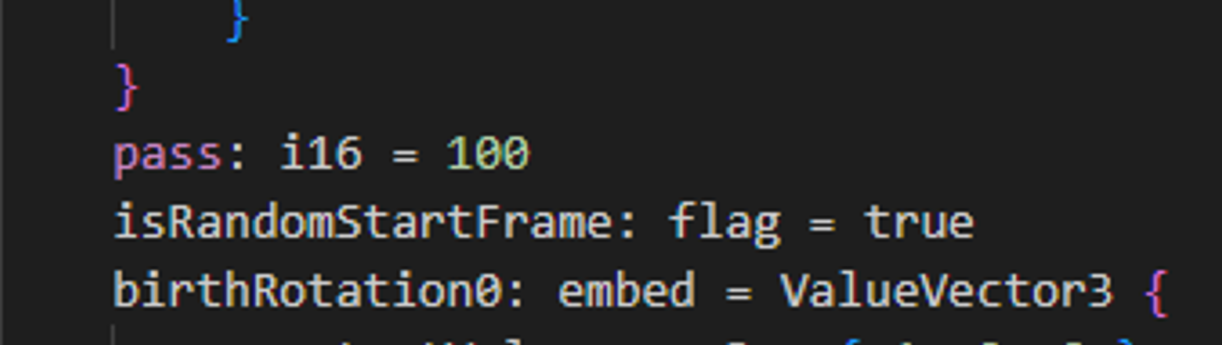
Pass = 0→ bottom layer (drawn first)Pass = 16→ top layer (drawn last, renders above others)
Pass: i16 = 0Blend Mode
blendMode defines how the particle blends visually.
blendMode: u8 = 1Blend Mode Values
-
1 — No transparency
- Safe to recolor black or white
-
3 / 4 (SCB) — Standard transparency ⚠️ Do not recolor too dark or the particle may become invisible in-game
Here’s that snippet converted into clean Markdown, matching the style of the rest of the doc:
Navmesh Mask
useNavmeshMask controls whether the particle system uses the terrain as a mask.
Enabled (Uses Terrain as Mask)
useNavmeshMask: flag = trueThe particle will be masked by the terrain.
Disabled (No Terrain Mask)
useNavmeshMask: flag = falseThe particle will ignore terrain masking.